Résumer cet article avec
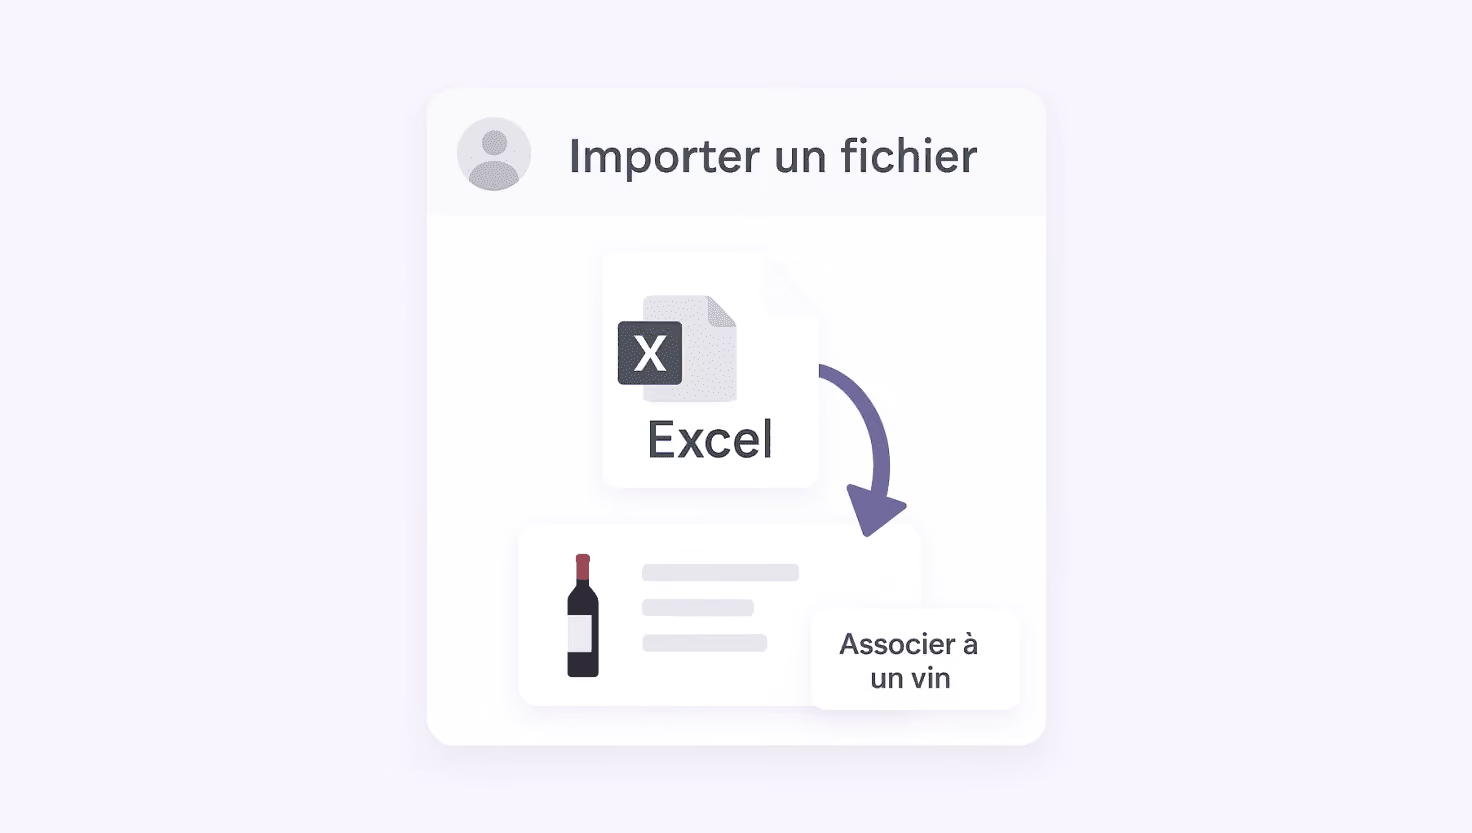
We know that importing your wines into your Oeni cellar is essential for optimal cellar management. That’s why we’ve simplified the process for you. Follow these easy steps and start filling your virtual cellar in just a few clicks!
Step 1: Log in to Oeni

To get started, go to the Oeni website. There, you’ll find a "Log in" button or "Create my wine cellar now." Click either one depending on your situation. If you don’t already have an account, you’ll need to answer a few questions so we can better understand your needs, then create an account. If you already have an account, simply log in with your details.
Step 2: Access your user profile

Once you’re logged in, you’ll be taken to your user profile. This is where you can manage all the information related to your cellar.
Step 3: Go to the "Import a file" section
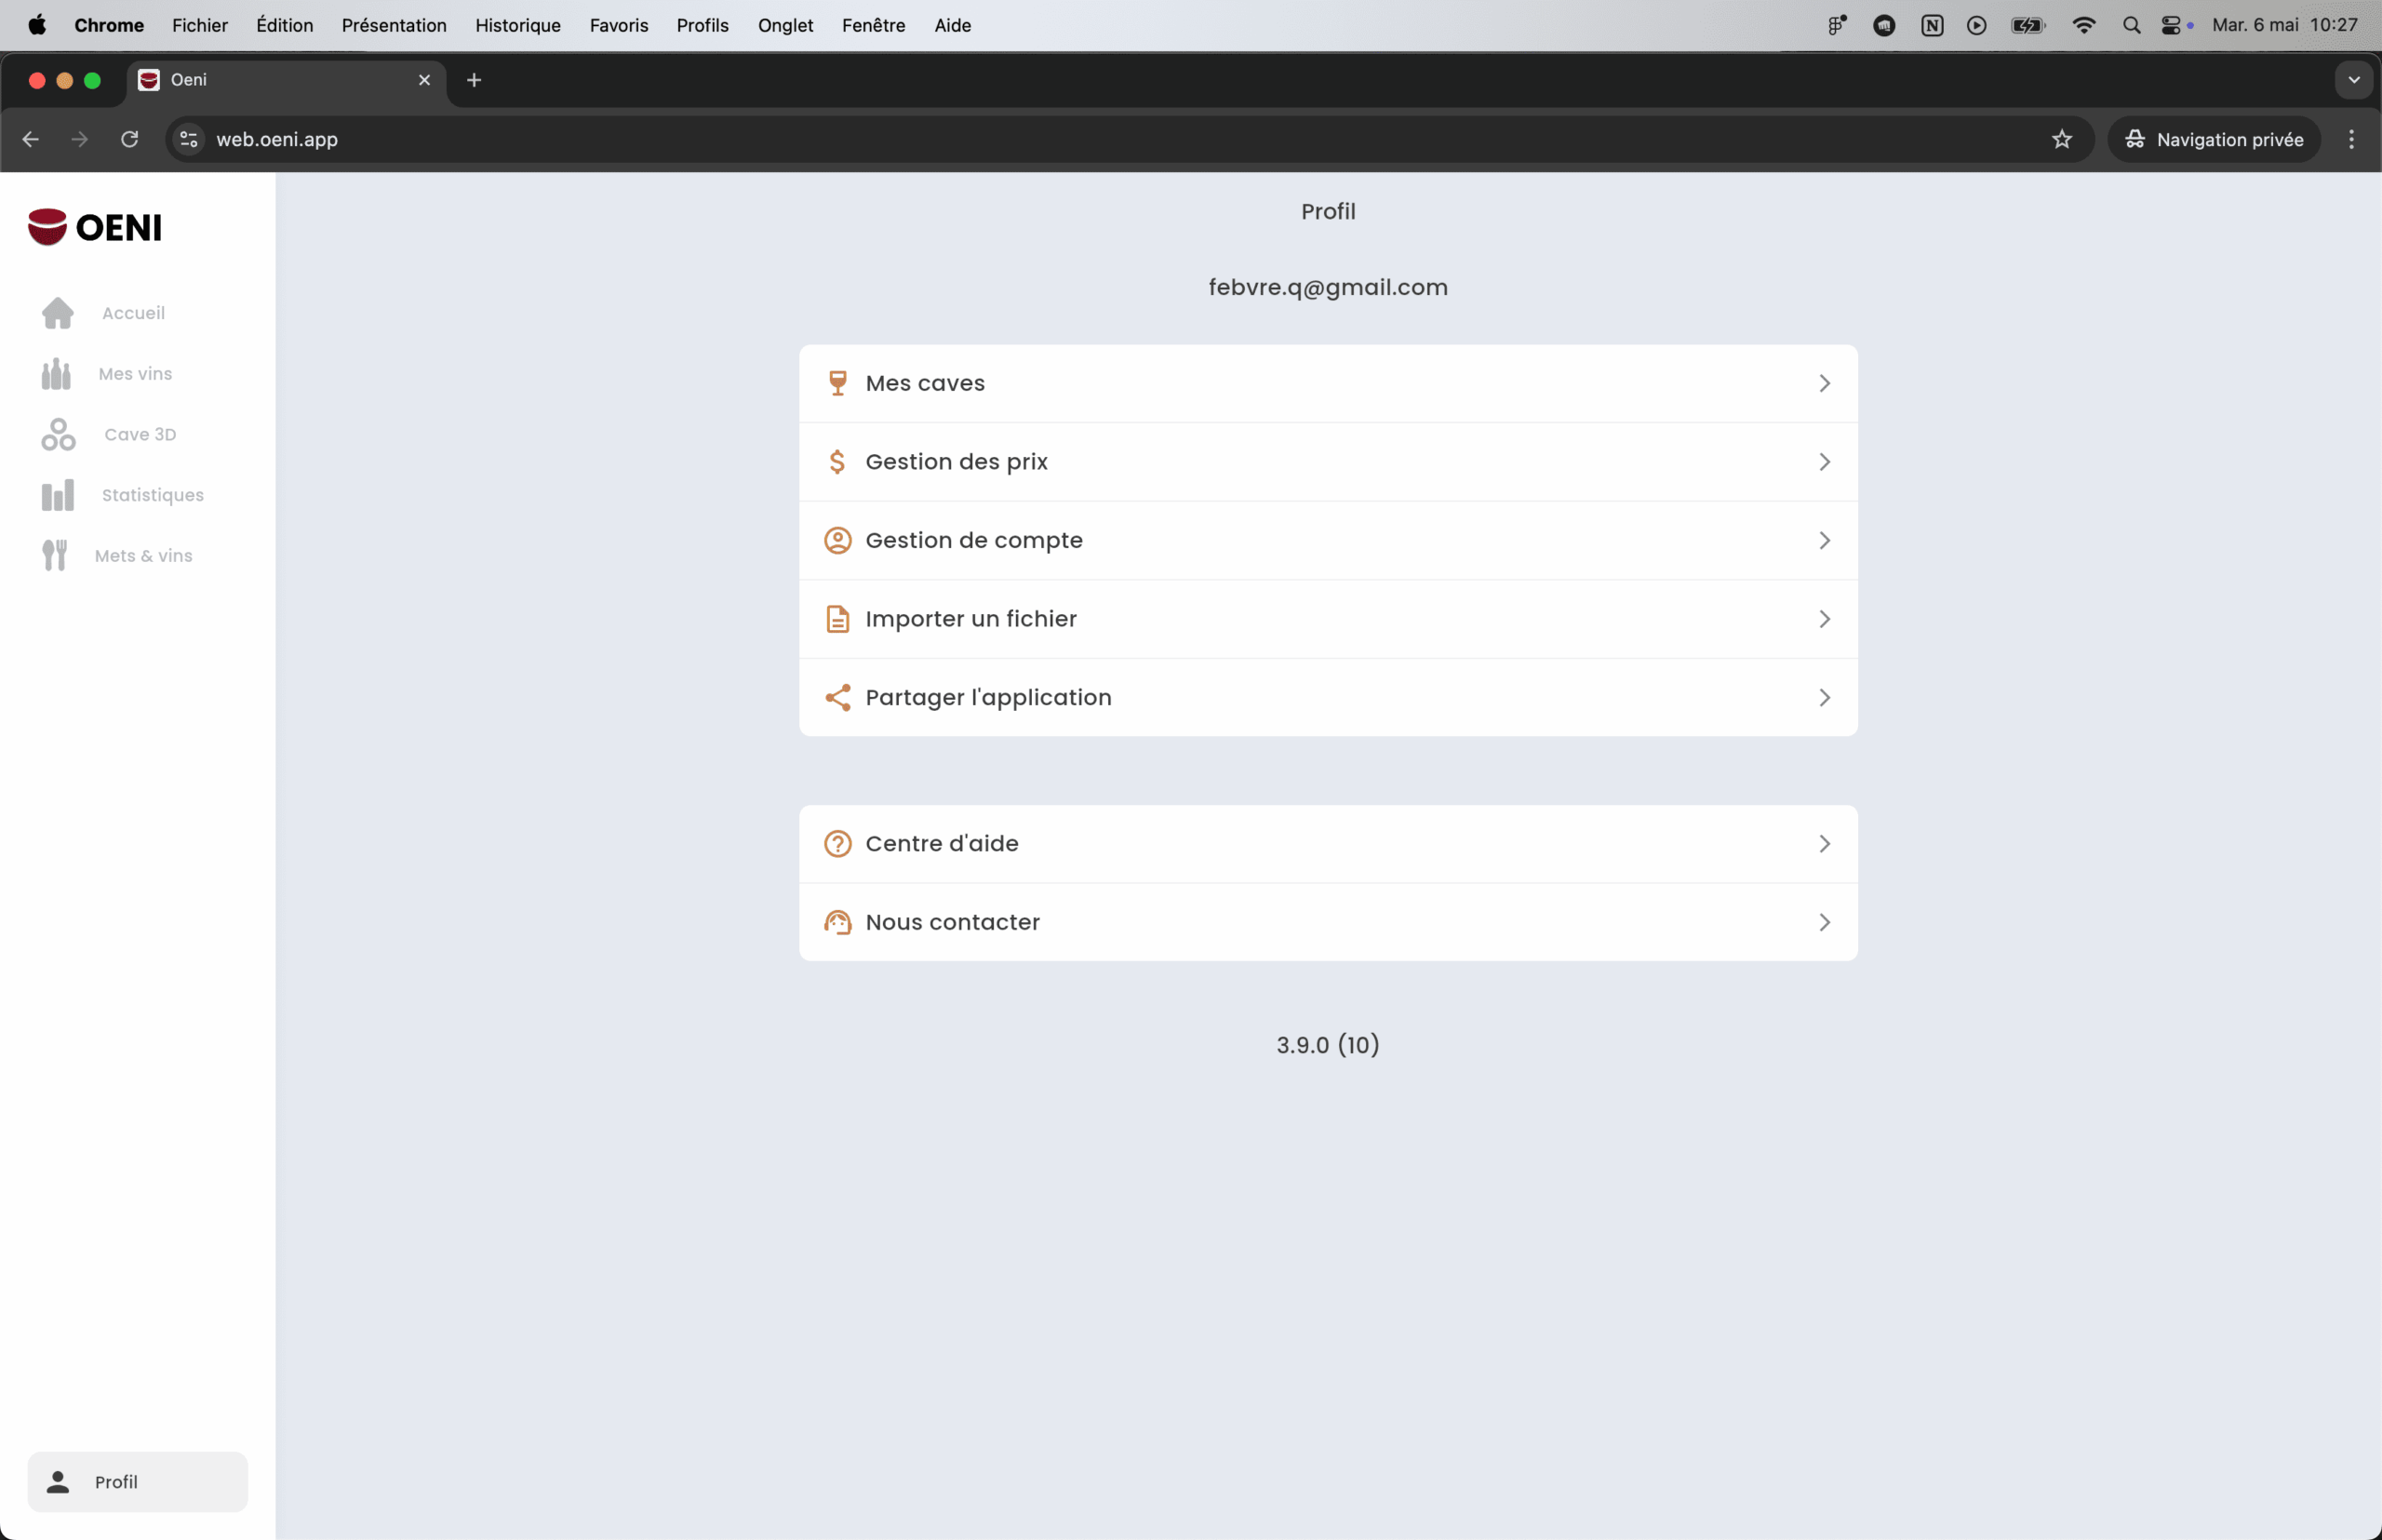
In your profile, you’ll find a new section called "Import a file." Click this option to move on to the next step.
Step 4: Download the sample file
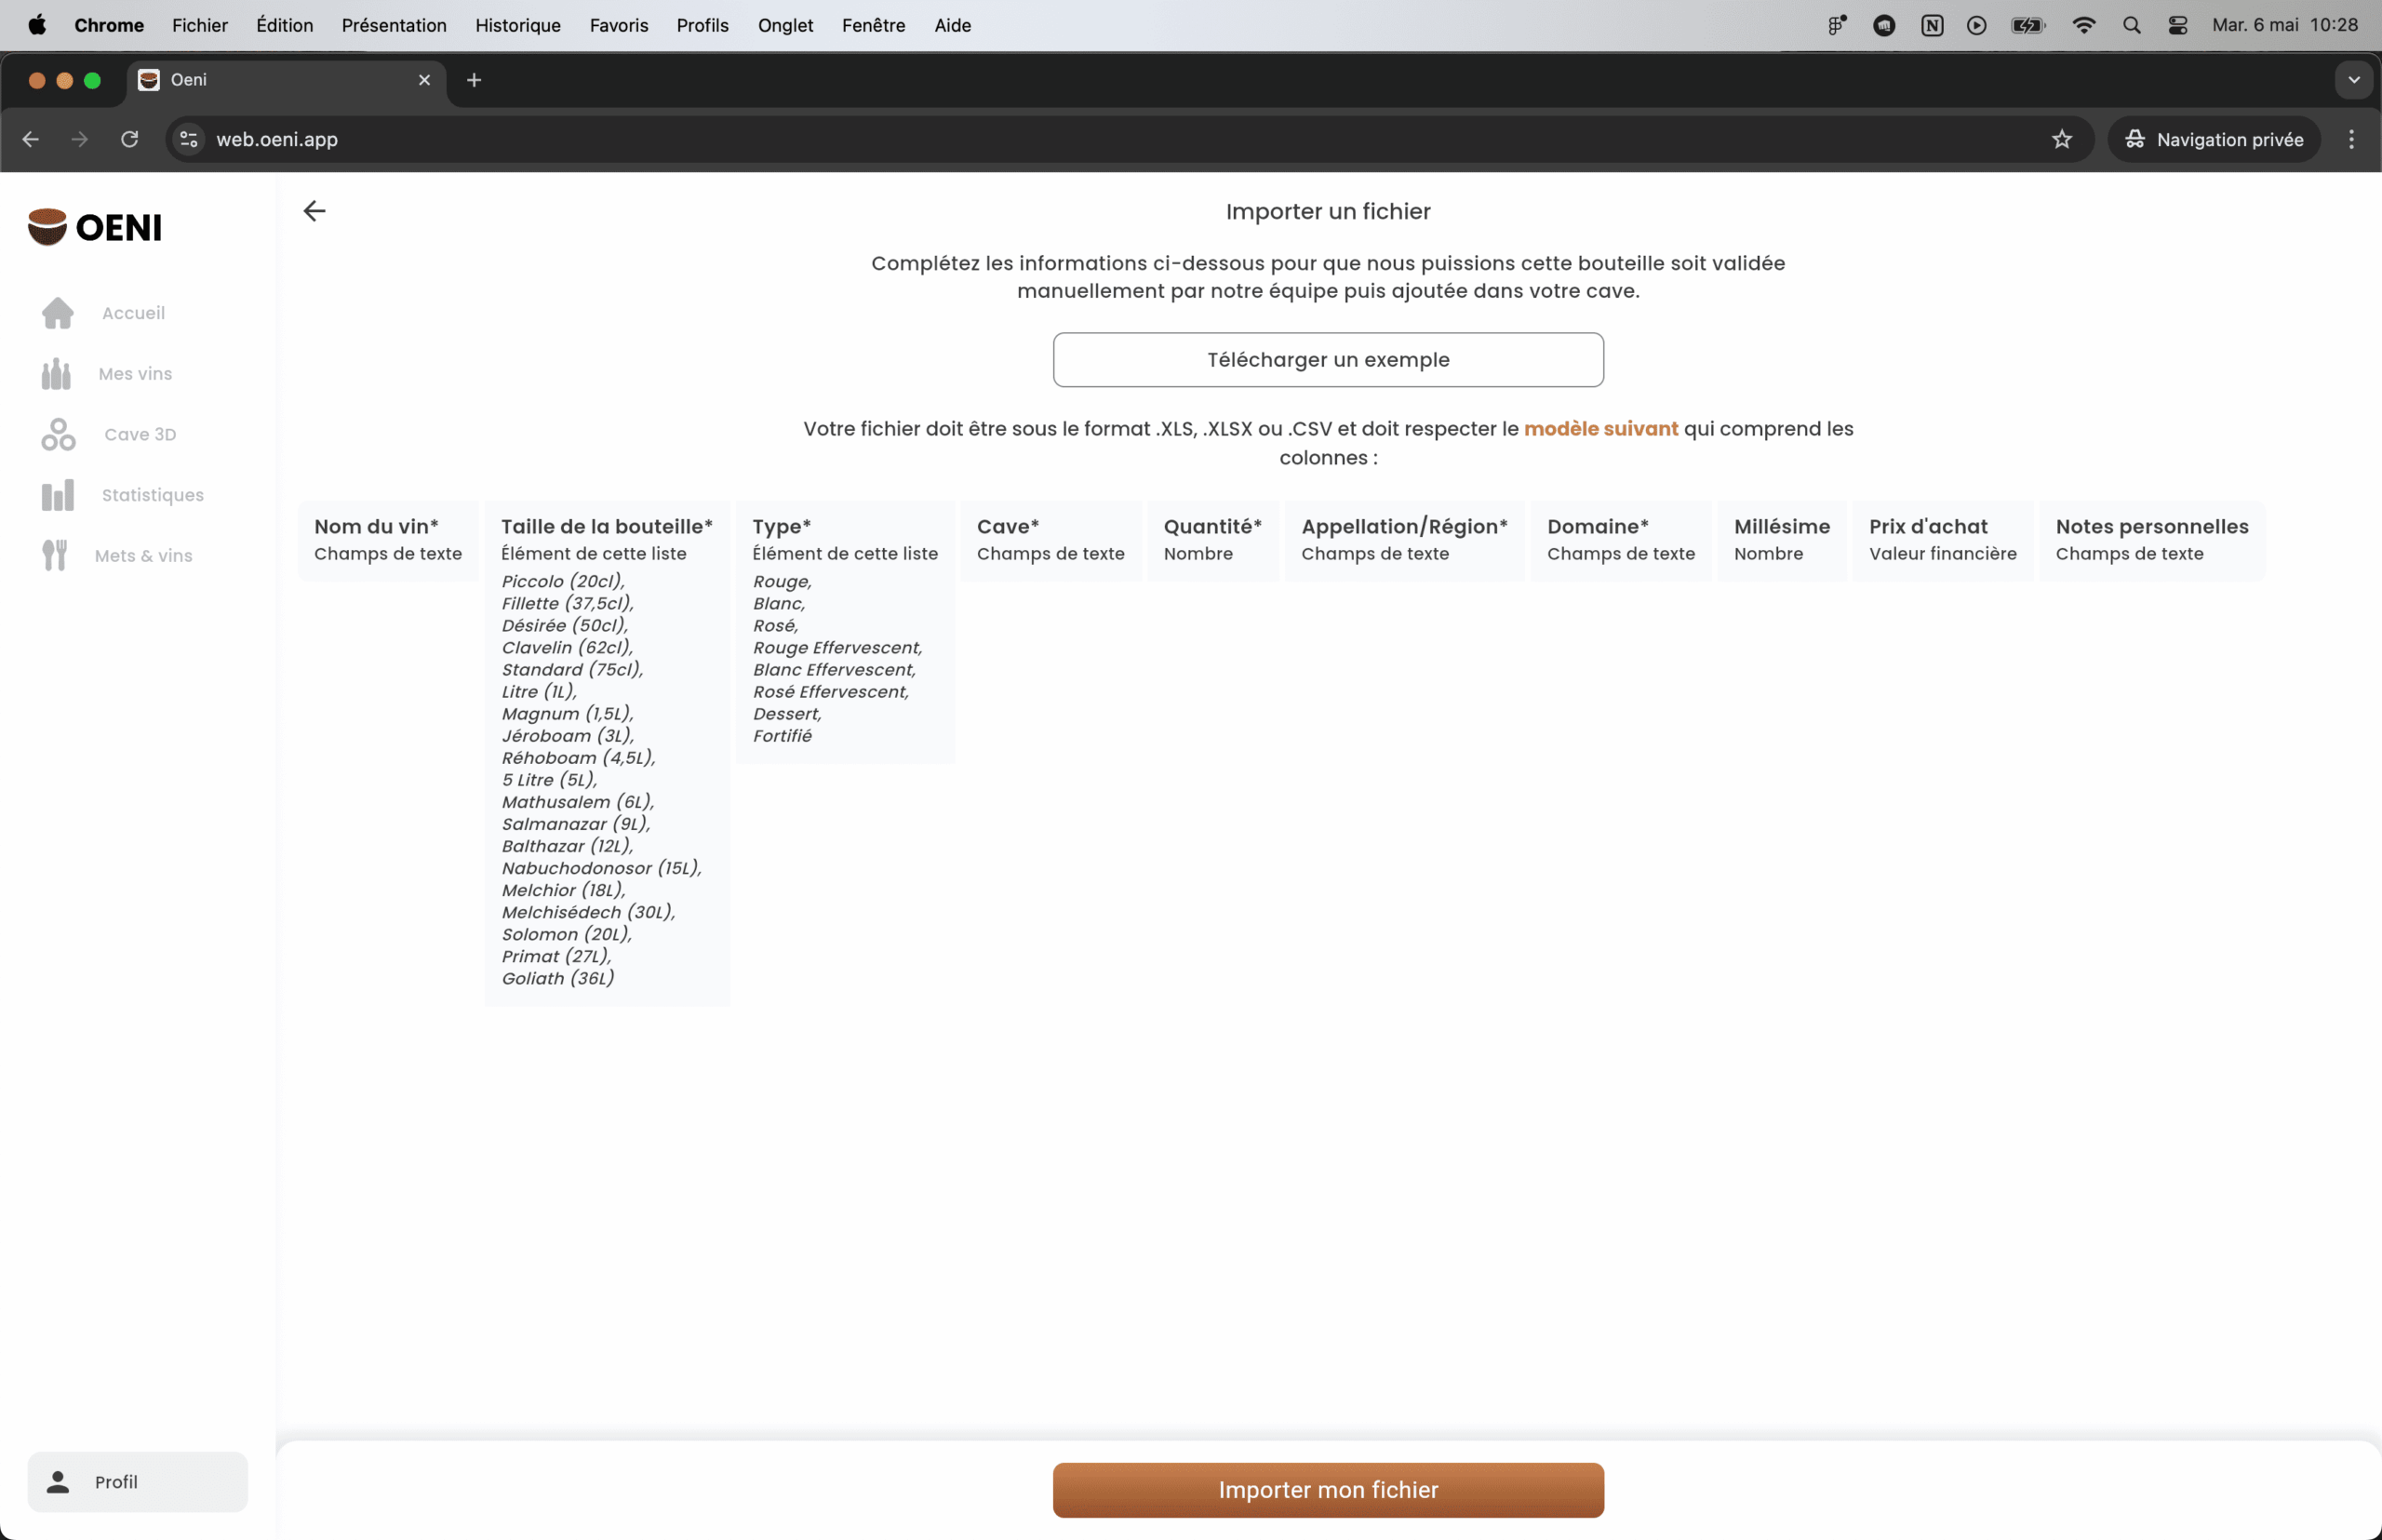
You’re now on the import page. We strongly recommend downloading our sample file so you can follow the correct import format. This will help you avoid any formatting errors and ensure a smooth import. The sample file includes the right categories and the data needed for import.
Step 5: Fill out and import your file
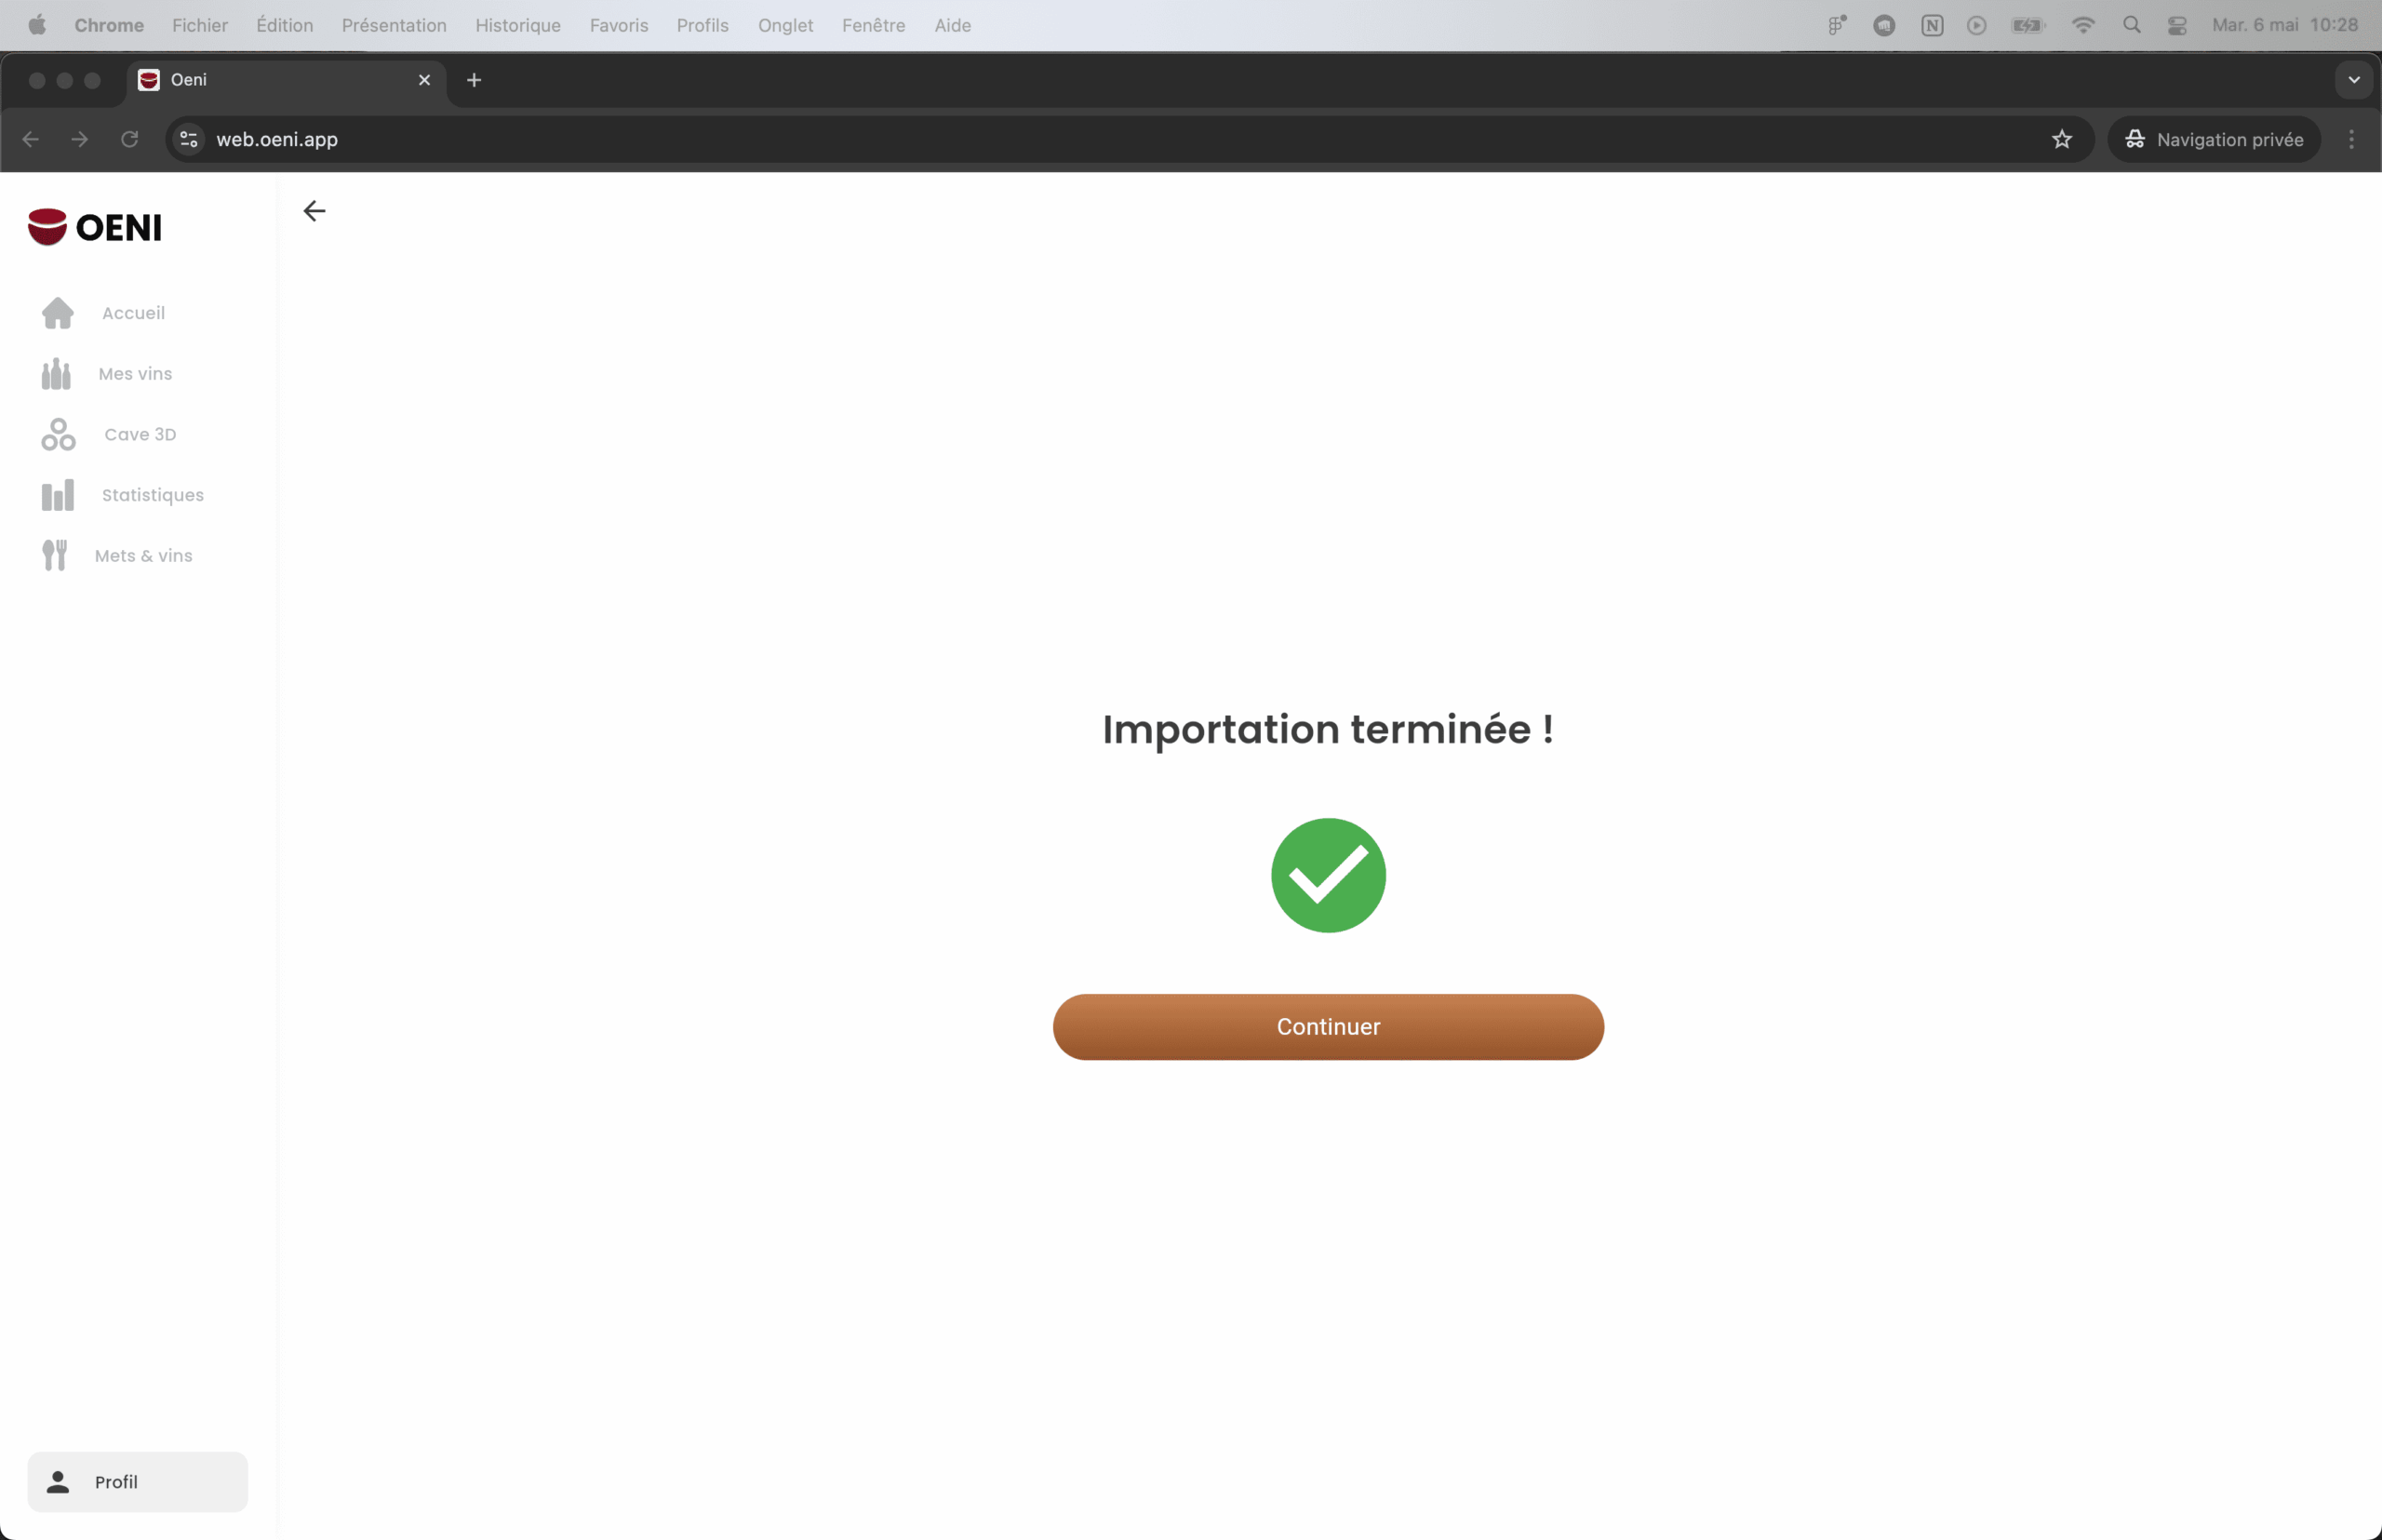
Once you’ve downloaded the sample file, fill it out with the information about your wine bottles. When you’re ready to import, click the import button. If any formatting errors are detected, error messages will appear directly on the problematic cells or columns so you can fix them easily.
Step 6: Check your wines

After the import, it’s essential to check your bottles. Oeni will ask you to match them with wines already present in our database. We chose this method to avoid any mistakes, such as importing the wrong wine.
Step 7: Match your wines to our database
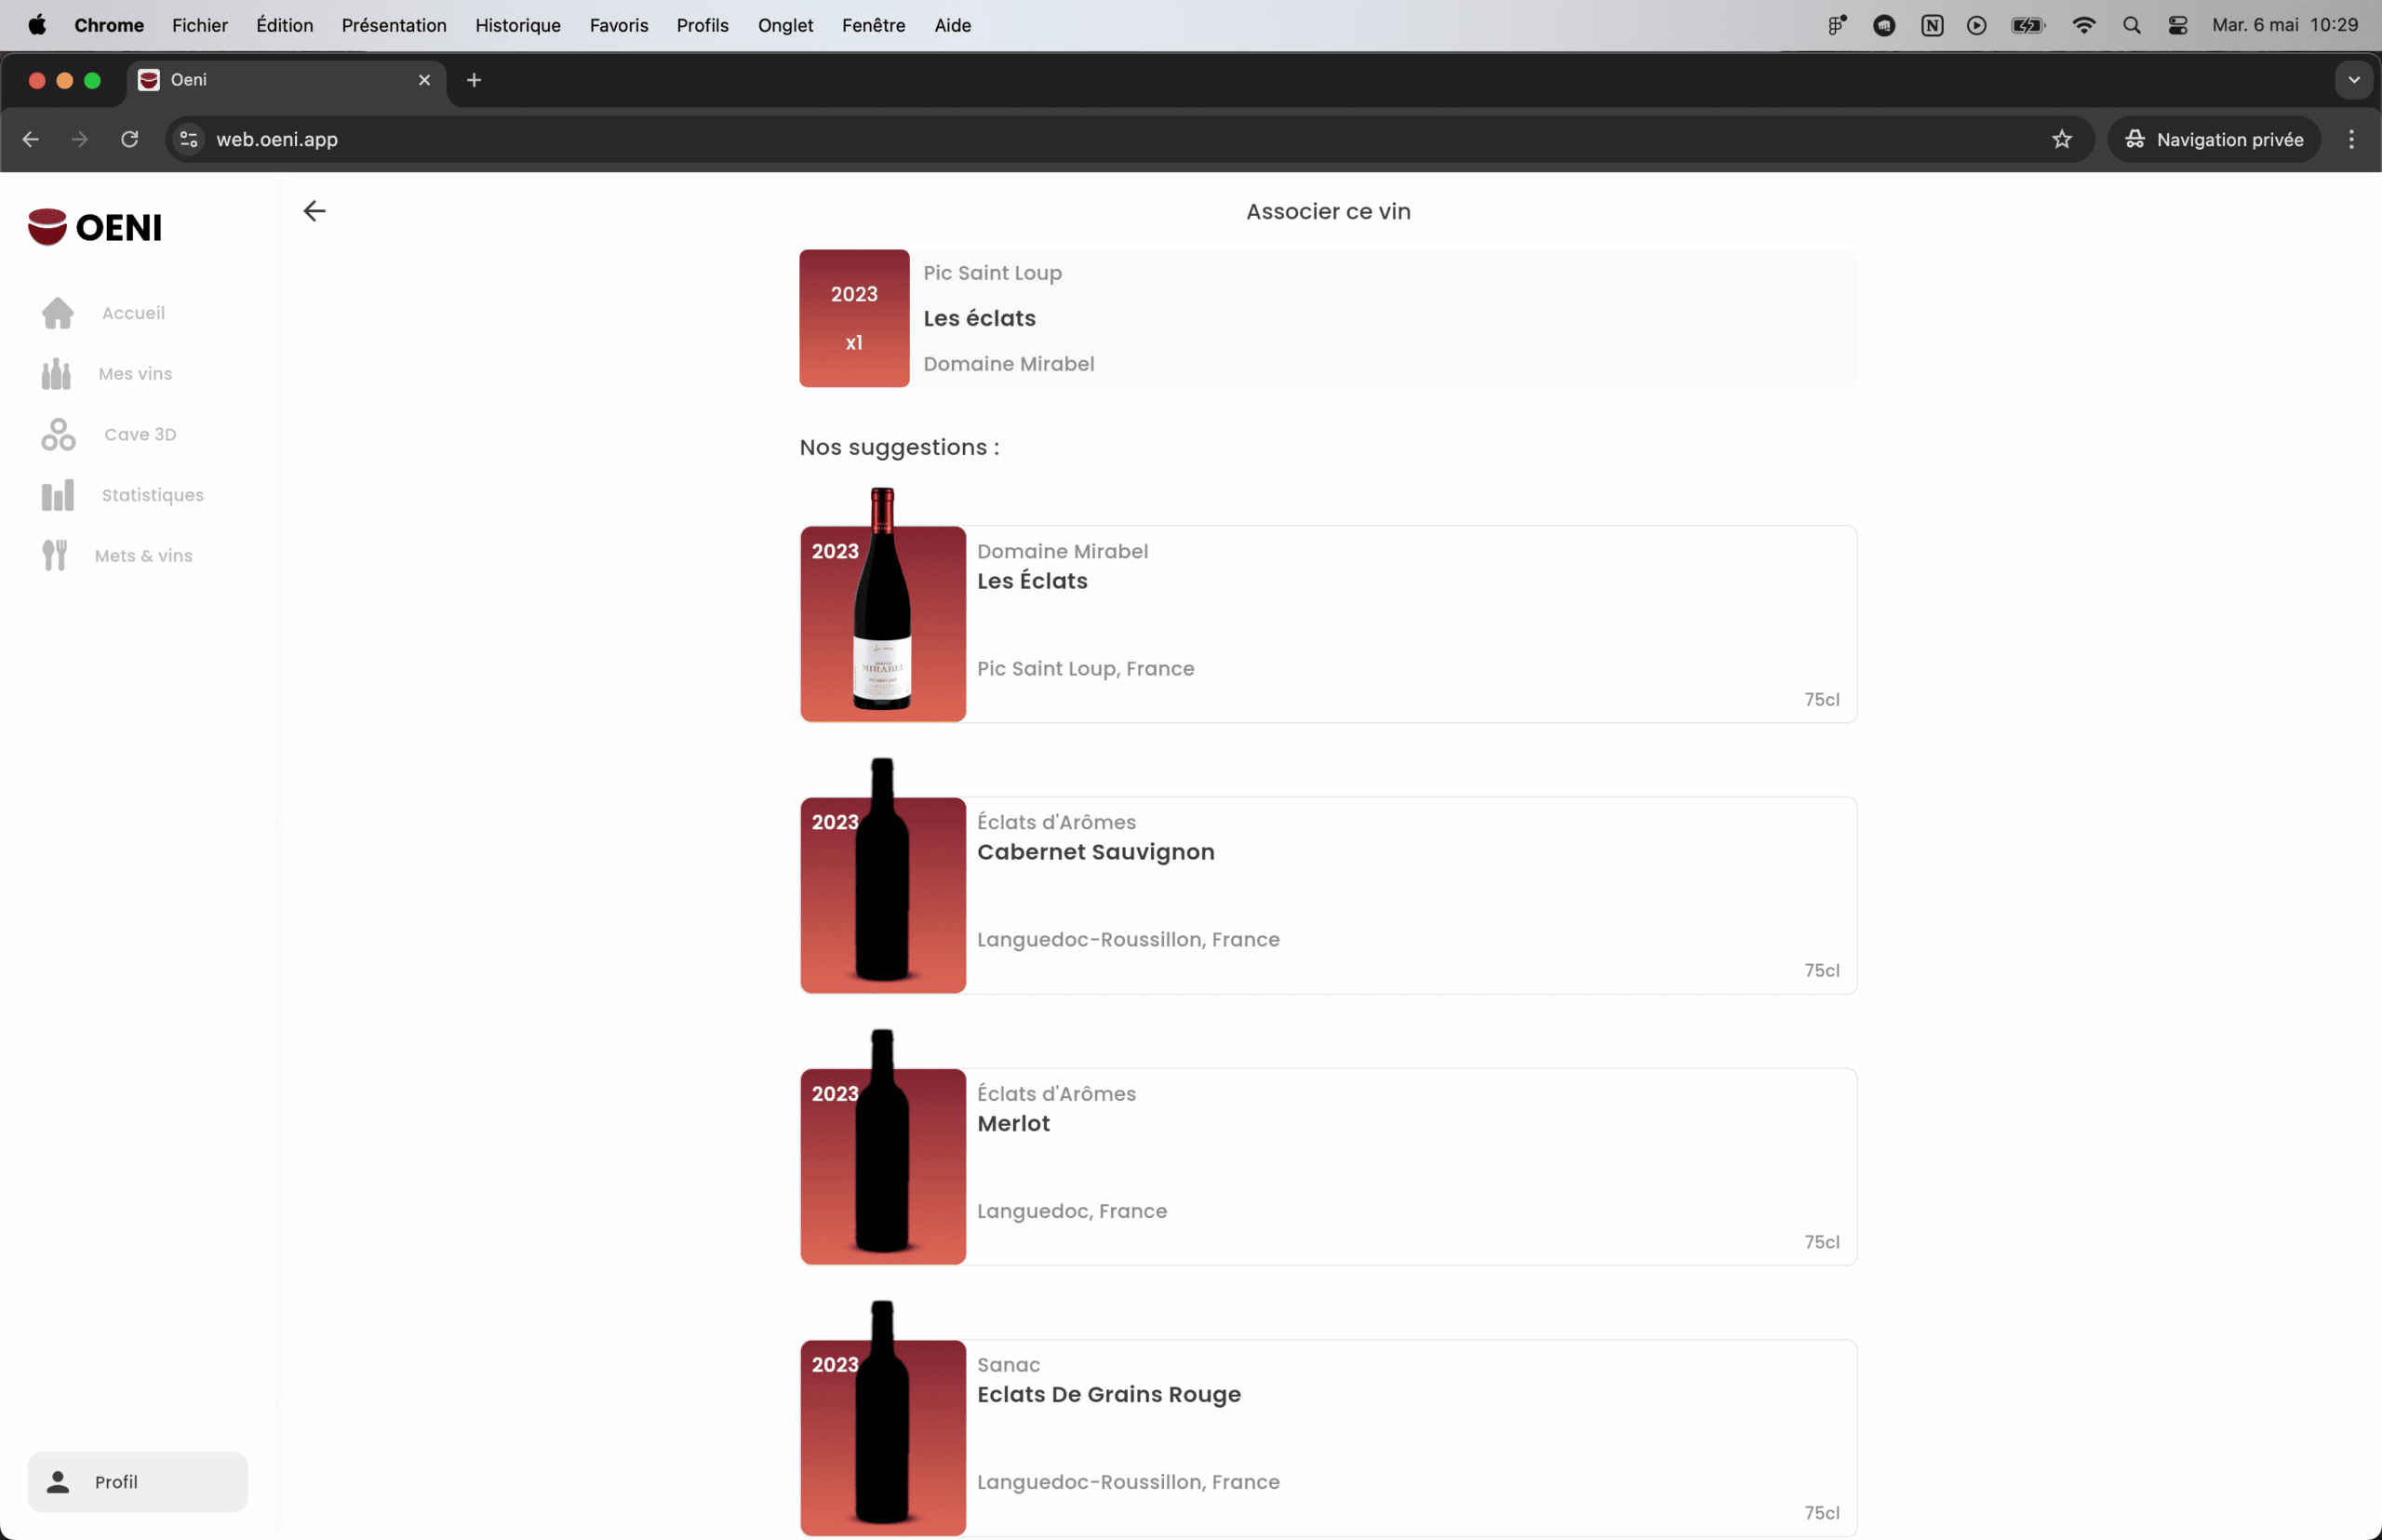
Browse through your list and click on each wine. Check whether it matches a wine already listed in our database. If you can’t find it, just click "Add manually" to submit a quick addition request.
Step 8: Confirm the wine match

Once you’ve found the matching wine in our database, click it to link it to your bottle. This step ensures that the information associated with each wine is correct.
Step 9: Review and complete the information

After matching, take one last look to make sure all the information is correct. We’ve pre-filled the data based on the information you provided in your Excel file. Feel free to add to or edit the information if needed for optimal cellar management.
Step 10: Congratulations, you’ve imported your first wine!

Congratulations, you’ve just successfully imported your first wine into Oeni!
If you have several wines to import, you can pause your import at any time. Just log back into your account from your computer or the mobile app to pick up where you left off. Everything is saved in real time, so you never have to start over.
---
If you have any questions or run into any issues with this feature, feel free to contact us by email at contact@oeni.app. We’re here to help! Feel free to check out more tutorials and information on our YouTube channel.